What is a coffee painting?
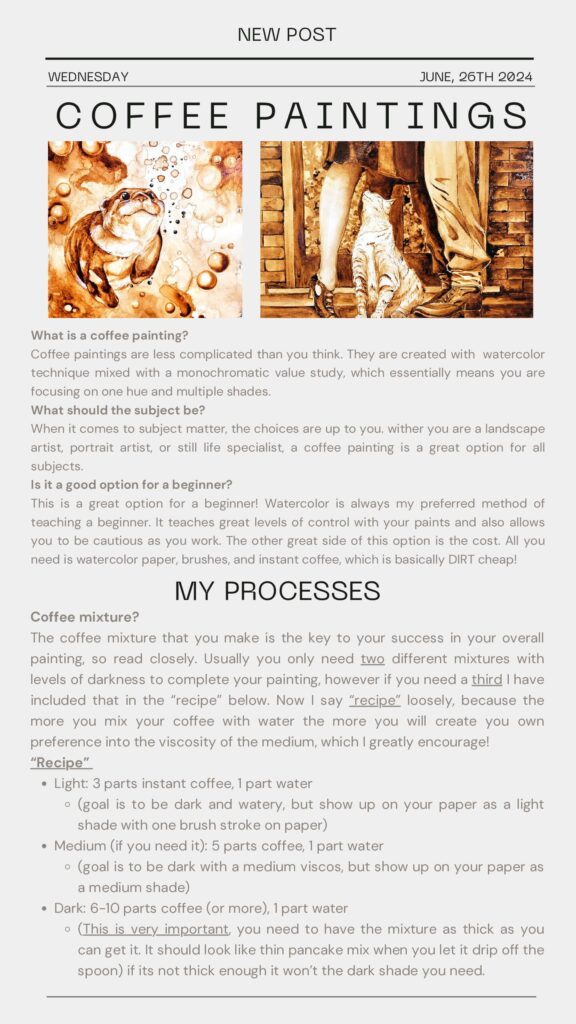
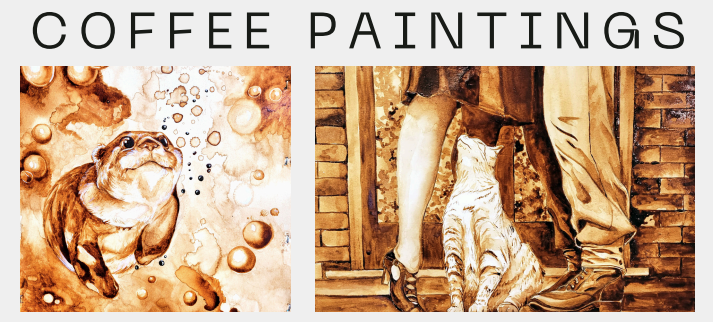
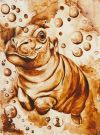
Coffee paintings are less complicated than you think. They are created with watercolor technique mixed with a monochromatic value study, which essentially means you are focusing on one hue and multiple shades.
What should the subject be?
When it comes to subject matter, the choices are up to you. Whether you are a landscape artist, portrait artist, or still life specialist, a coffee painting is a great option for all subjects.

Is it a good option for a beginner?
This is a great option for a beginner! Watercolor is always my preferred method of teaching a beginner. It teaches great levels of control with your paints and also allows you to be cautious as you work. The other great side of this option is the cost. All you need is watercolor paper, brushes, and instant coffee, which is basically DIRT cheap!
My Processes
Coffee mixture?
The coffee mixture that you make is the key to your success in your overall painting, so read closely. Usually you only need two different mixtures with levels of darkness to complete your painting, however if you need a third I have included that in the “recipe” below. Now I say “recipe” loosely, because the more you mix your coffee with water the more you will create your own preference into the viscosity of the medium, which I greatly encourage!
“Recipe”
- Light: 3 parts instant coffee, 1 part water
- (goal is to be dark and watery, but show up on your paper as a light shade with one brush stroke on paper)
- Medium: (if you need it): 5 parts coffee, 1 part water
- (goal is to be dark with a medium viscus, but show up on your paper as a medium shade)
- Dark: 6-10 parts coffee (or more), 1 part water
- (This is very important, you need to have the mixture as thick as you can get it. It should look like a thin pancake mix when you let it drip off the spoon) if it’s not thick enough it won’t have the dark shade you need.
Paper?
There are many ways to get yourself prepared to start your watercolor paper, I will discuss my personal preference to getting my paper prepped, however I have linked a video explaining a few different ways you can get your paper ready to paint on.
Three different methods (from cheapest to most expensive):
- Non stretched- if you aren’t going to stretch your watercolor paper, I suggest getting a watercolor paper that is no lower than 140 lbs cold pressed. You can get up to 300lbs but it gets pricey. You can paint directly onto this paper without having to stretch it, however be aware that it may bow or bubble in certain areas due to the water usage.
- Stretched method- This is my preferred method. I get a 140lbs paper, fully soak it in water, and then stretch it across a foam board with a heavy duty stapler. This prevents the paper from bubbling or bowing and stays straight as an arrow.
- Pre-stretched method- Pre-stretched watercolor paper pads are available. They are very convenient because they are all ready to go, no soaking, or stretching or anything. However they are very expensive, so they are not my preferred method, but they are helpful.
Click the image below for a downloadable PDF of this blog post.
